Gibsonton Cabinet Refacing Pros
Crown Molding Addition in Gibsonton, FL
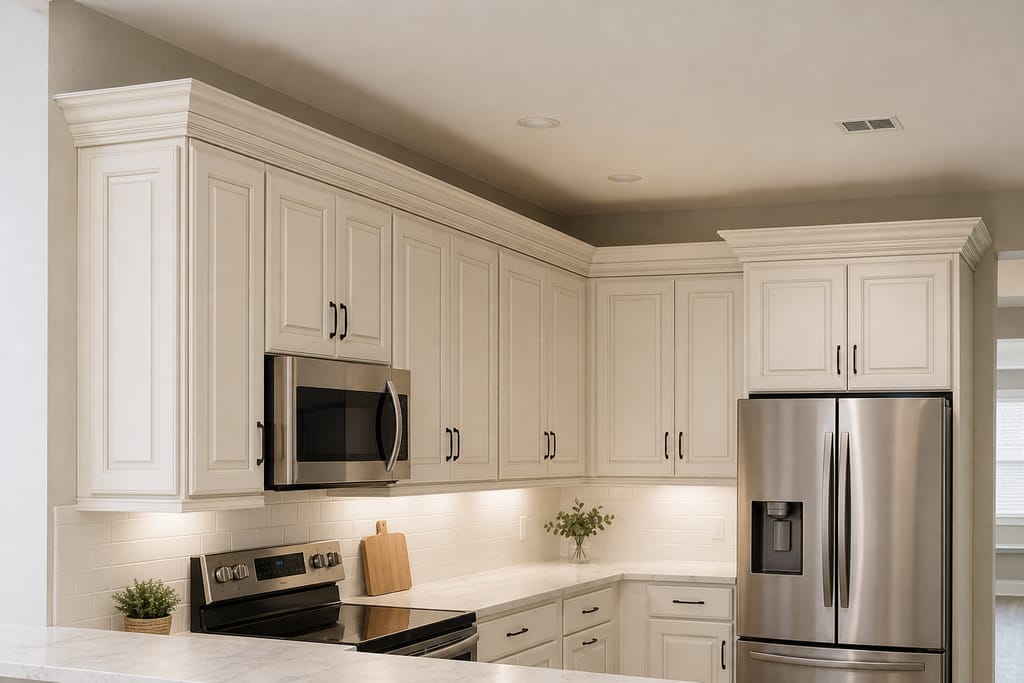
Crown molding addition in Gibsonton, FL to finish a cabinet refacing project with a matched, cut-to-fit profile. Free estimates.
- 15+ Years local experience
- 500+ Projects completed
- Licensed & Insured
Serving Gibsonton and nearby communities.
Crown molding closes the visual gap between the cabinet tops and the ceiling. It's the finishing touch most homeowners add once new doors and veneer are already in place. Crown Molding Addition usually rides along with a refacing project, though it can also go on existing cabinets that never had it. Many Sun City Center and Gibsonton homeowners add it when finishing a cabinet update for a more polished look.
Gibsonton Cabinet Refacing Pros cuts and fits molding profiles to match the cabinet finish. Older homes don't always have perfectly level ceilings, so we account for that line in each kitchen before cutting anything.
What's included
What's included with Crown Molding Addition
Typically included: molding profile selection, precise cutting and fitting, installation, finish touch-up to match cabinets.
Optional: solid wood upgrade over MDF molding, corner molding blocks for complex angles.
Customer prep: no prep typically needed beyond clearing counter space directly below the cabinet tops.
Want a clearer scope?
Get a Free EstimateHow it works
How our Crown Molding Addition process works
 Step 1
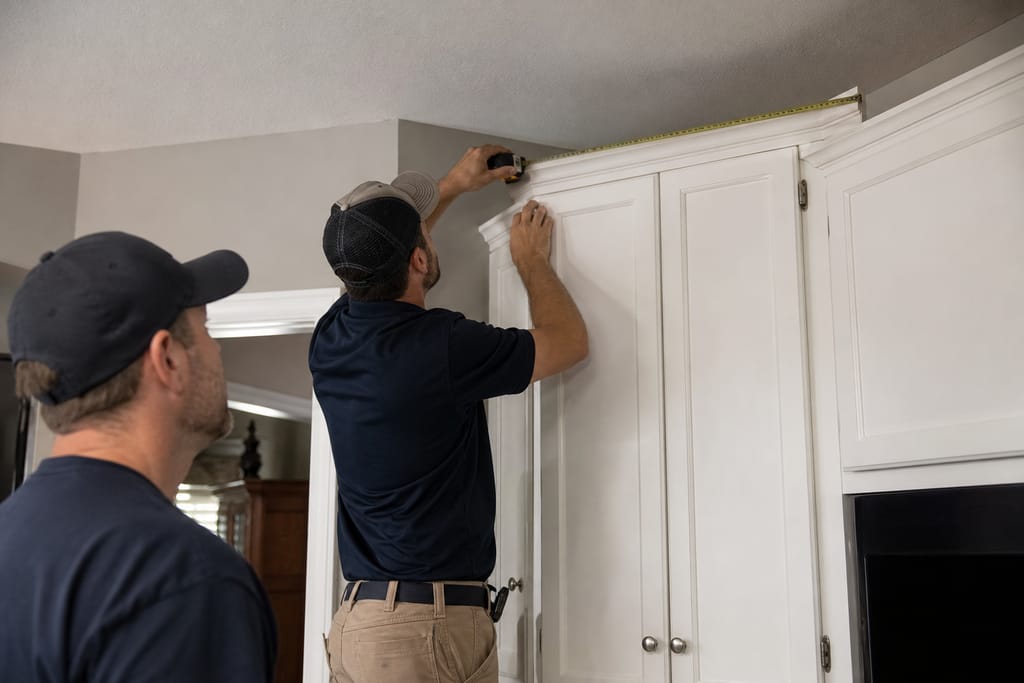
Space Measurement
Cabinet tops are measured to determine molding length and angles needed.
 Step 2
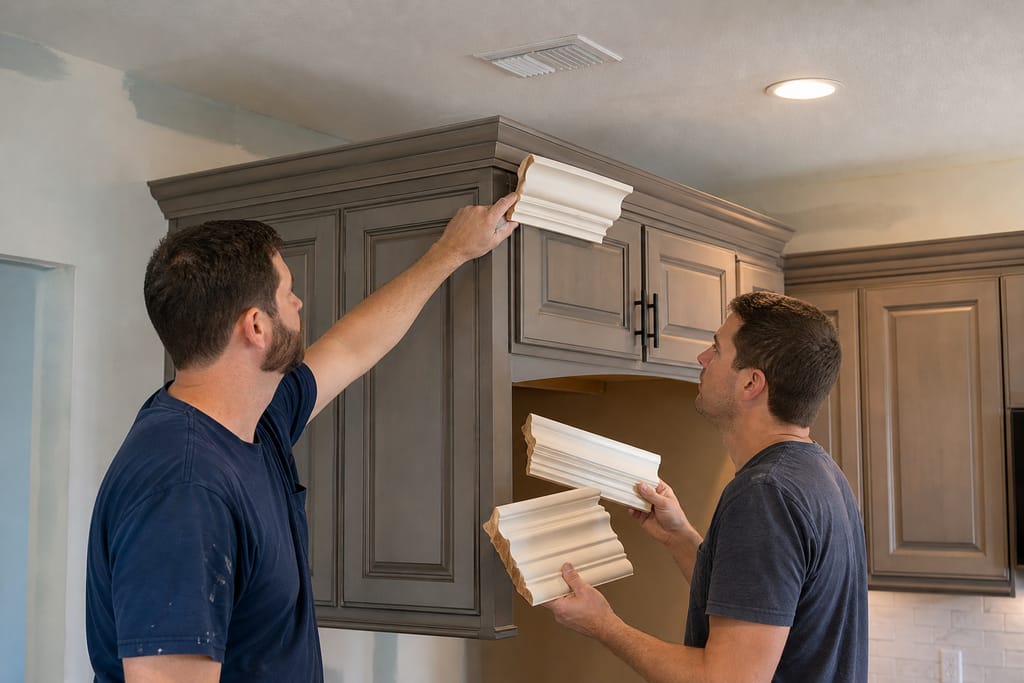
Molding Style Selection
Clients choose molding profiles that complement their cabinet design.
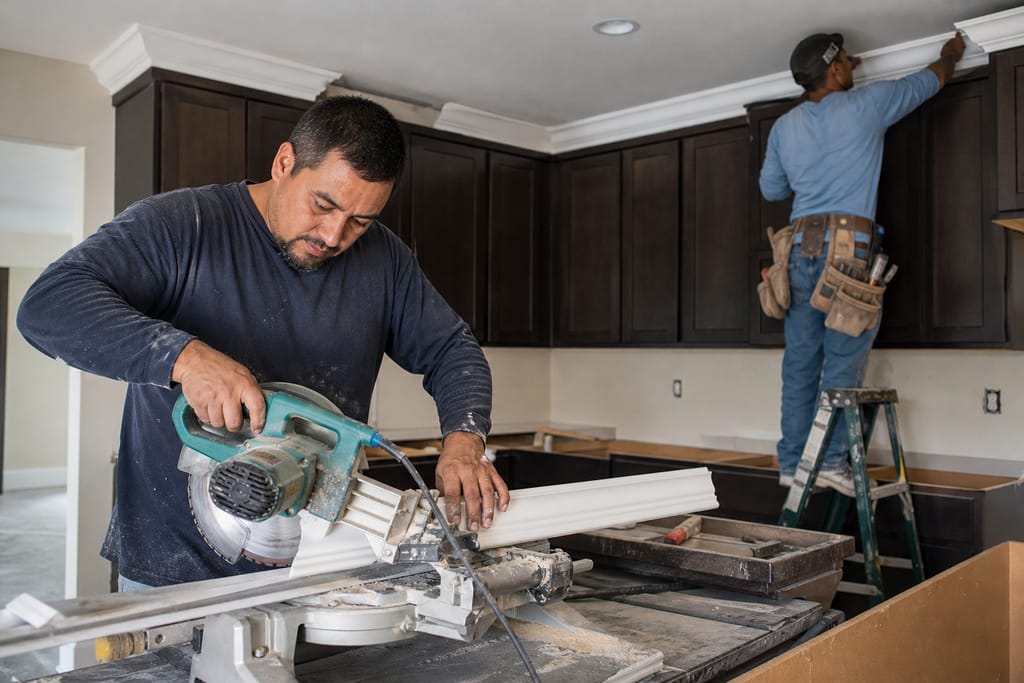 Step 3
Cutting and Fitting
Molding pieces are cut to precise angles for proper corner fitting.
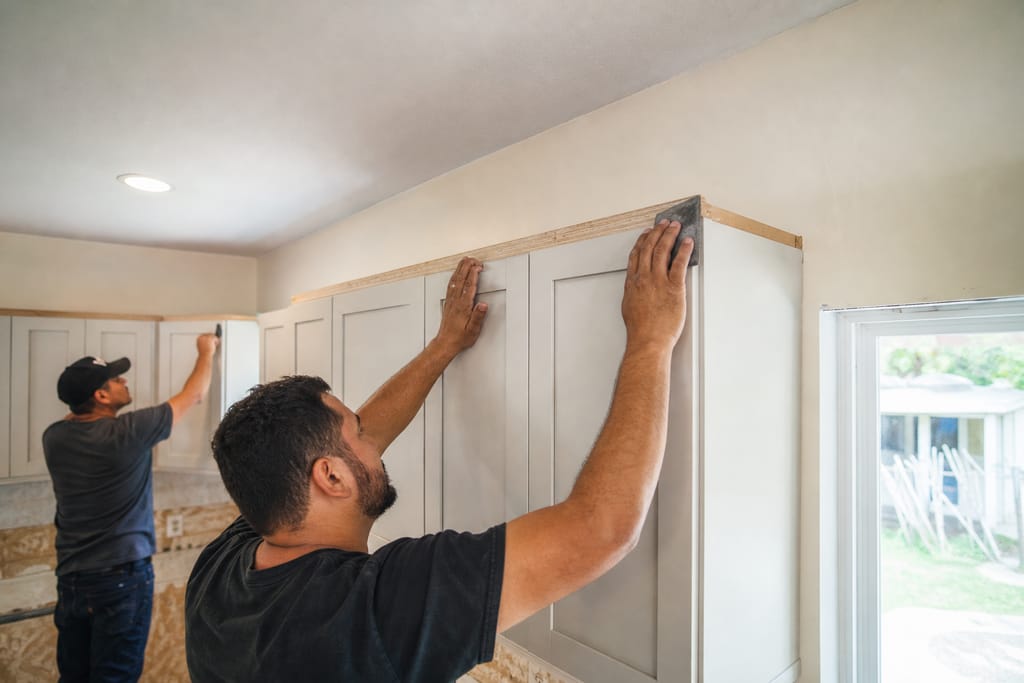 Step 4
Surface Preparation
Cabinet tops are prepared to ensure secure molding attachment.
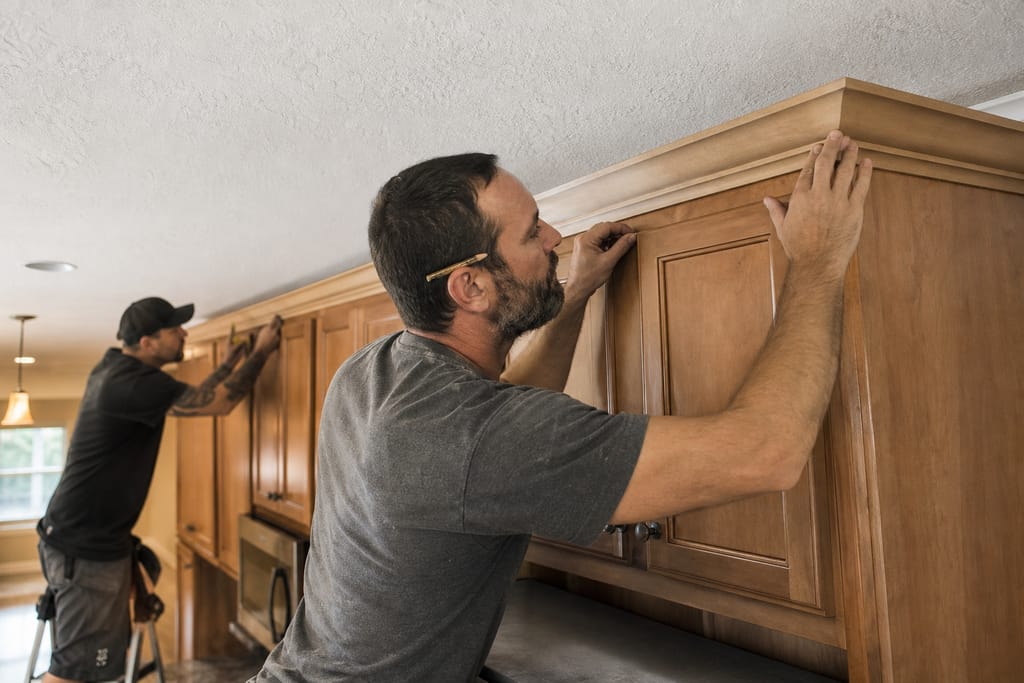 Step 5
Molding Installation
Molding is attached and secured along the tops of cabinet runs.
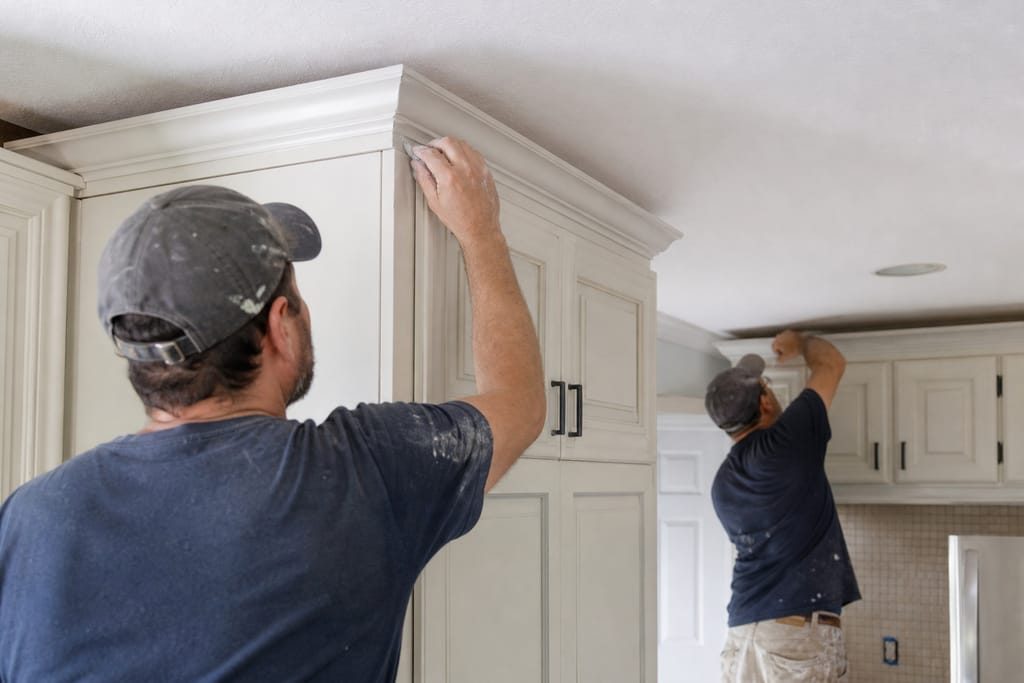 Step 6
Finish Touch-Ups
Seams and edges are finished to blend molding with existing cabinetry.
Materials
Materials and methods for Crown Molding Addition
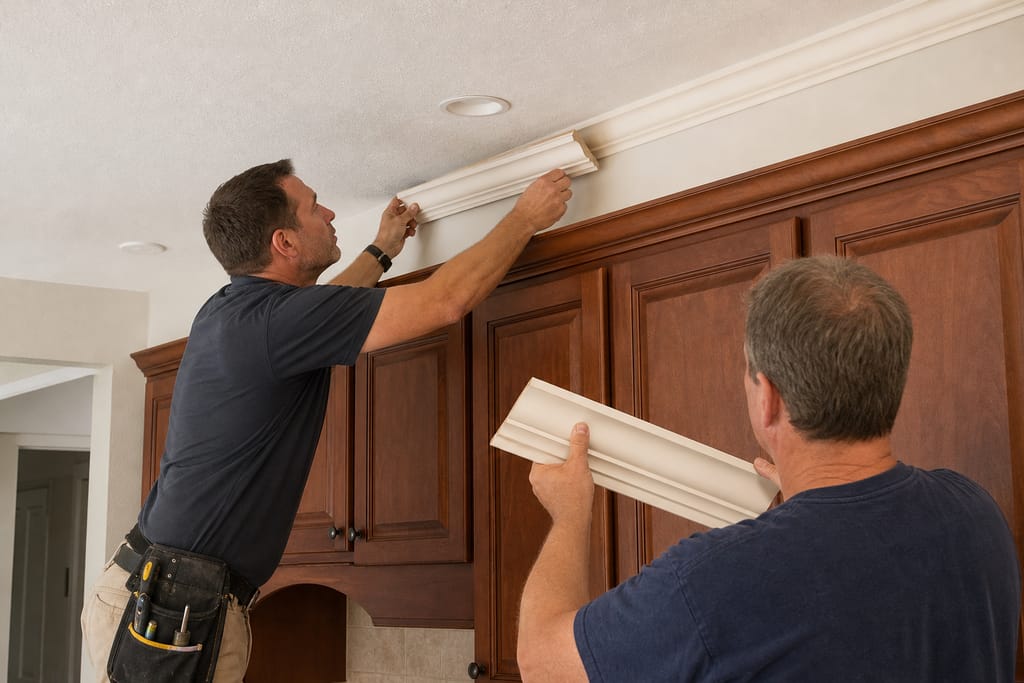
Crown Molding Profiles
A range of molding profiles add decorative detail above cabinetry and can be matched to painted or stained finishes.
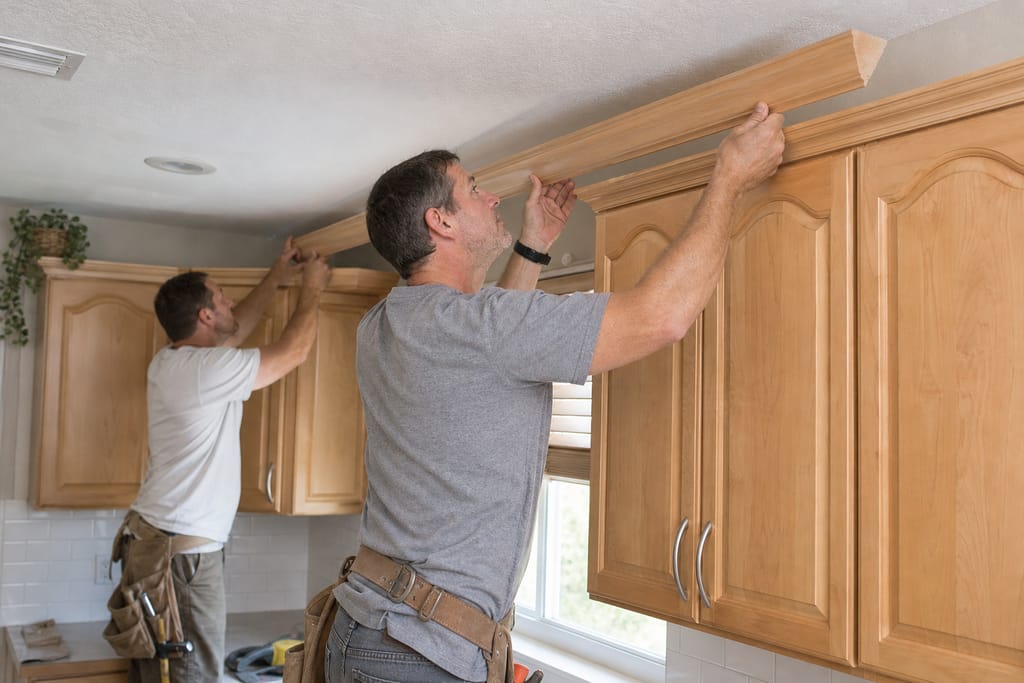
Wood Molding Strips
Solid wood strips provide a traditional, durable molding option that holds paint and stain well over time.
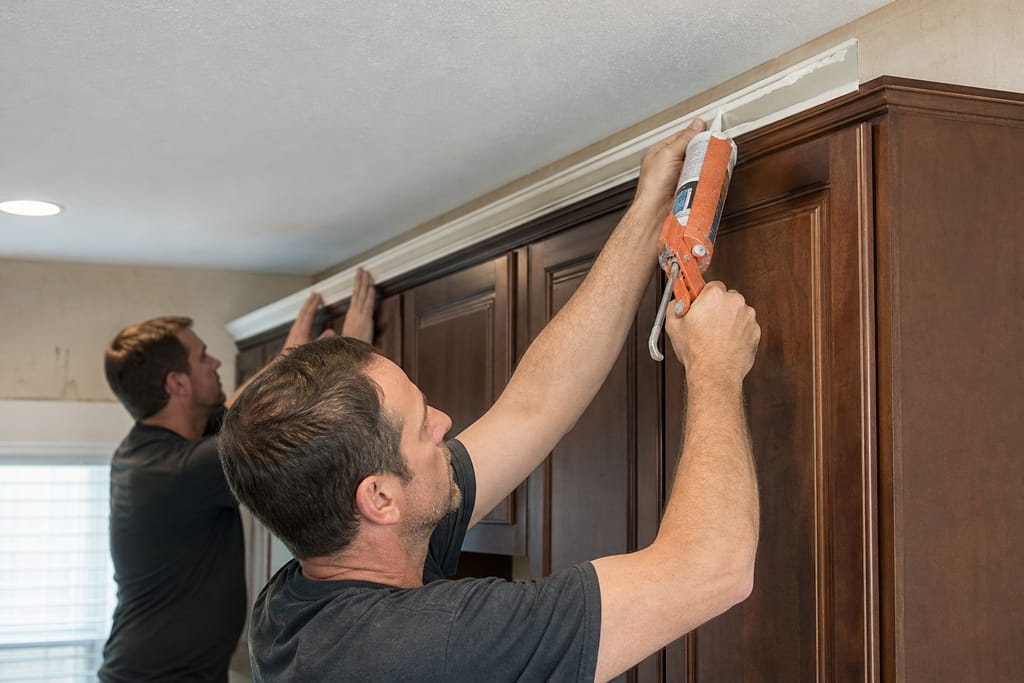
Molding Adhesive
Strong adhesive secures molding firmly to cabinet surfaces, important when ceilings aren't perfectly level.
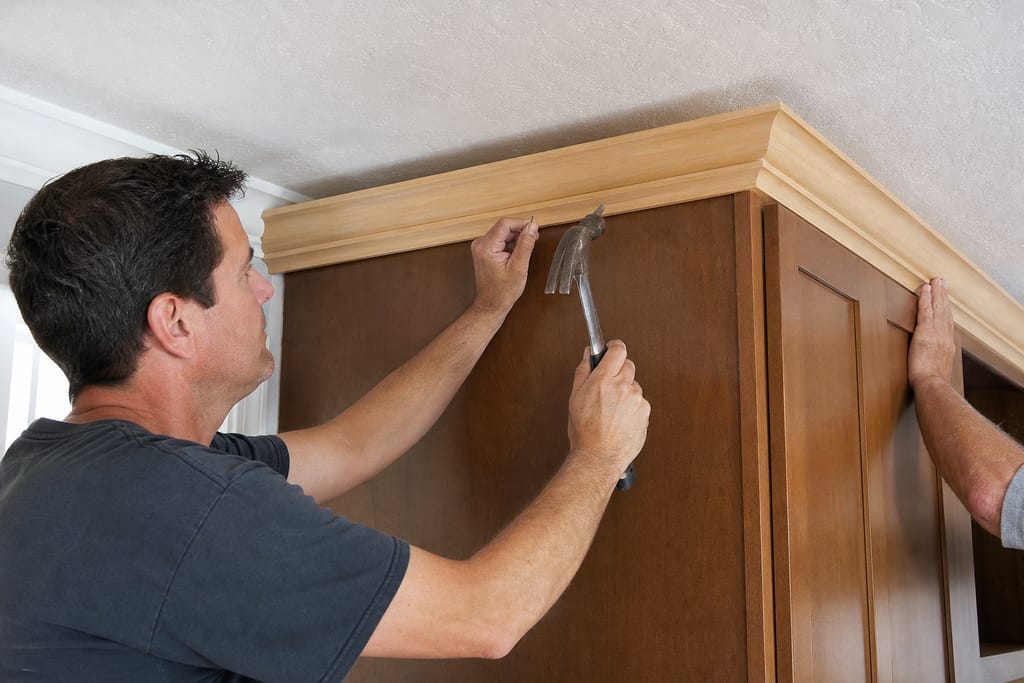
Finish Nails
Finish nails provide additional support for molding installation beyond adhesive alone.
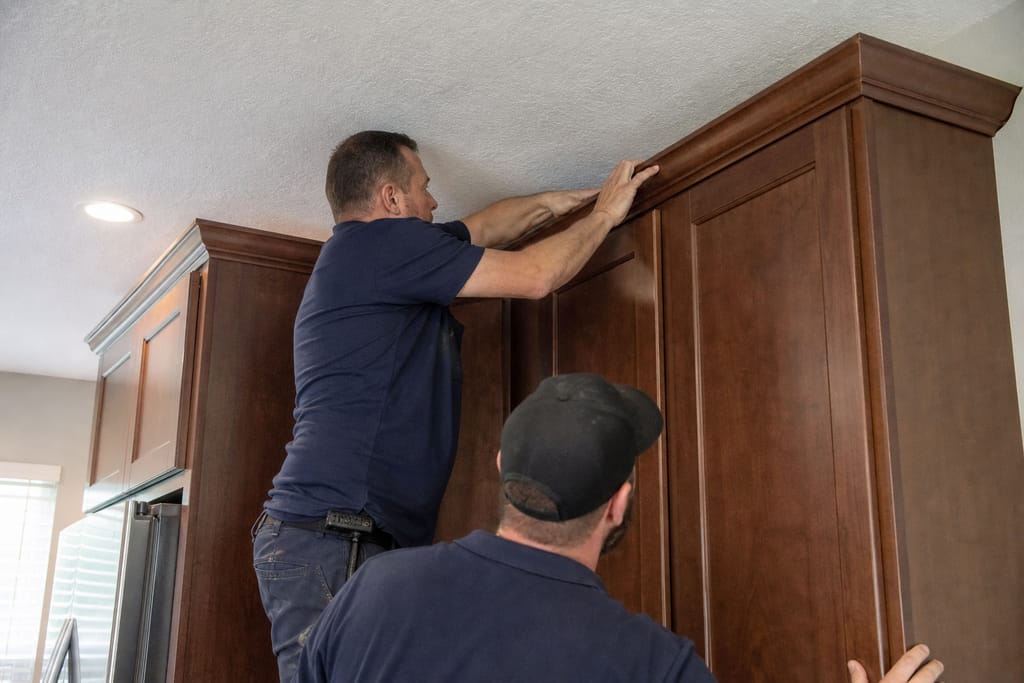
Matching Stain or Paint
Finish is matched to existing cabinetry for a cohesive appearance between new molding and refaced doors.
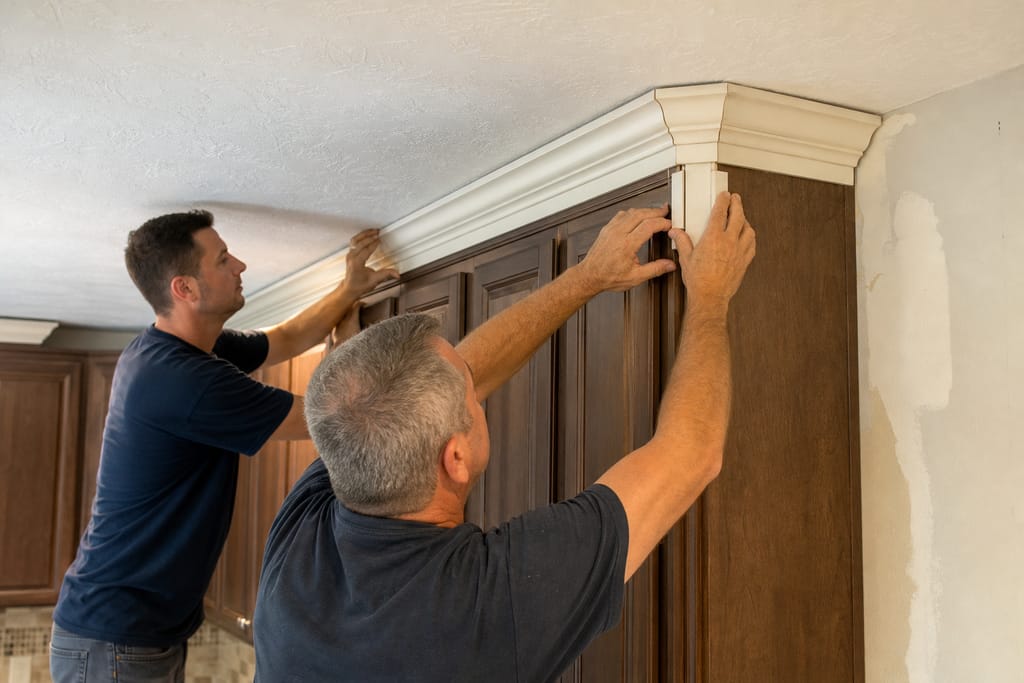
Corner Molding Blocks
Corner blocks simplify fitting at complex cabinet angles found in L-shaped or U-shaped kitchens.
Questions on materials?
Get a Free EstimateTimeline
How long does crown molding addition take?
This is usually added onto an existing refacing project rather than scheduled as its own long job.
- 01
Measure and style selection
same day - 02
Molding order
1 week - 03
Cutting and install
1 day - 04
Finish touch-up
same day
Need a schedule that fits?
Get a Free EstimateCost
What does crown molding addition cost in Gibsonton?
Want a number for your home?
Get a Free EstimateDIY vs pro
DIY vs hiring a pro for Crown Molding Addition
| DIY | Hire a pro |
|---|---|
| Painting or touching up an already-installed molding seam is a manageable task | Uneven ceilings common in older Gibsonton homes make miter cuts tricky without the right tools, since a slightly off angle leaves a visible gap at every corner |
| Reattaching a loose corner piece with wood glue is a reasonable fix | — |
Not sure DIY vs pro?
Get a Free EstimateWhen to call
When to call for Crown Molding Addition
Call (727) 591-5321 or request a free estimate to pair molding with your refacing project.
- Finishing touch wanted right after or during a cabinet refacing project
- Cabinets that never had molding and look unfinished at the ceiling line
- An uneven ceiling making a prior DIY molding attempt look gapped
- Wanting to add a polished detail before selling or updating a kitchen
Seeing warning signs?
Get a Free EstimateFAQs
Crown Molding Addition FAQs
When should crown molding be added during a refacing project?
It's most efficient to add molding right after new doors and veneer are installed, while the crew is already on-site matching finishes.
What cabinet door styles pair well with crown molding?
Shaker and raised panel styles both take molding well, while very modern flat panel kitchens sometimes skip it for a cleaner look.
How much does crown molding cost?
Pricing runs $8 to $35 per linear foot depending on material and profile complexity, with solid wood costing more than MDF.
How long does crown molding installation take?
Installation itself usually takes one day once molding has been ordered and cut to the kitchen's measurements.
Is DIY crown molding installation realistic?
Simple runs along a flat, straight wall are DIY-friendly. Uneven ceilings and inside corners are where the miter angle slips, and that's where most DIY attempts show a visible gap.
Do I need a permit to add crown molding?
Crown molding addition doesn't require a permit since it's a cosmetic, non-structural install.
More services
Other Cabinet Refacing services
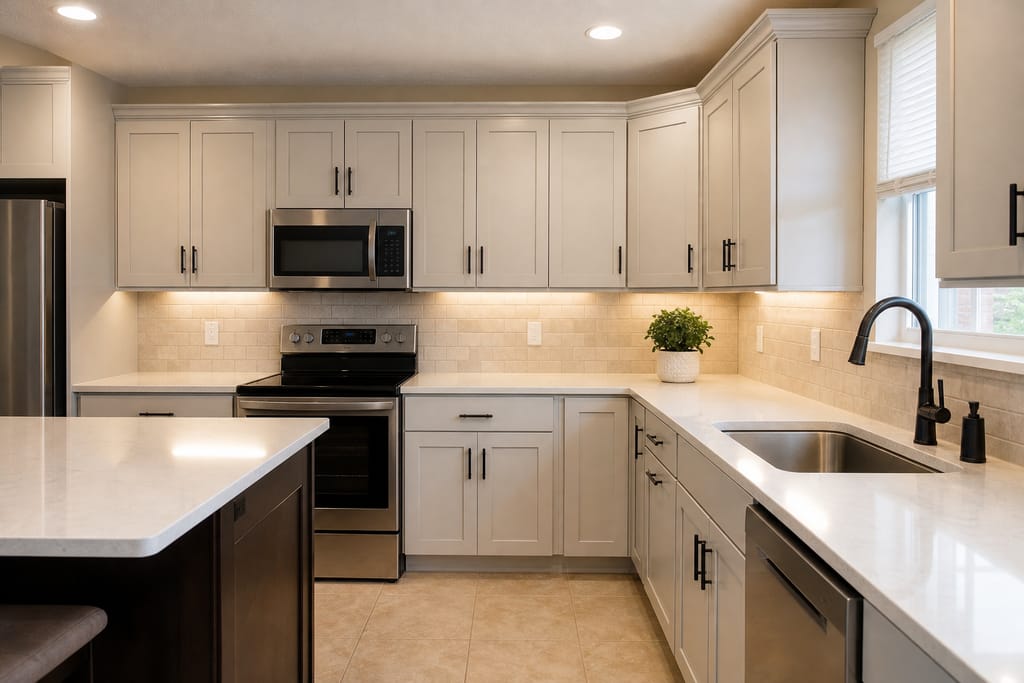
Cabinet Refacing
Cabinet Refacing in Gibsonton, FL. New doors, veneer skins, and hardware over your existing boxes. Free in-home estimates.
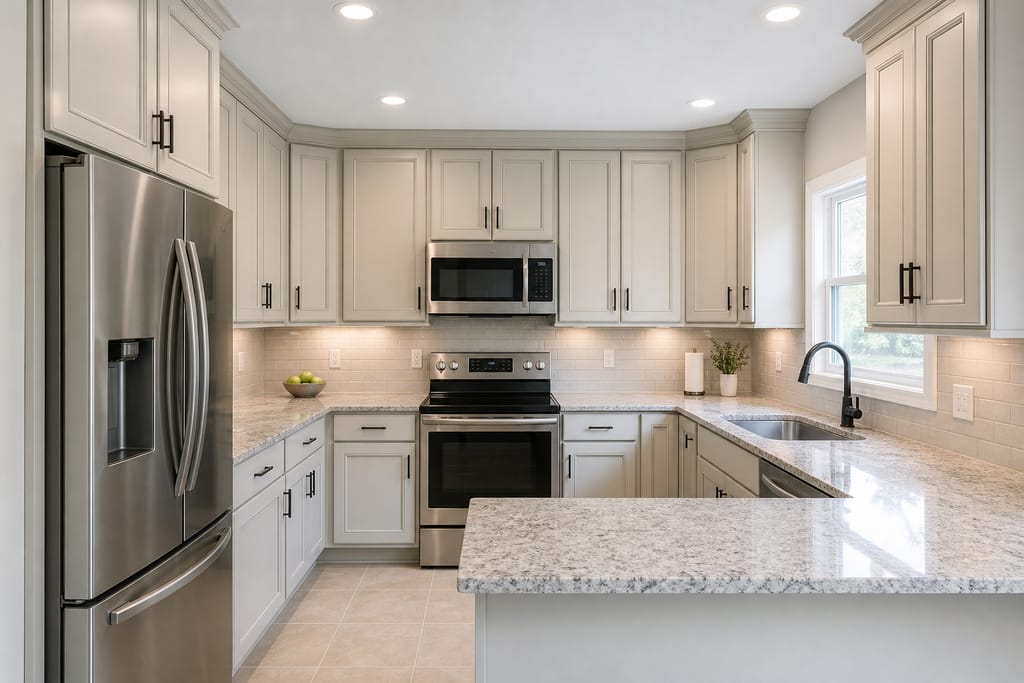
Kitchen Cabinet Refacing
Kitchen Cabinet Refacing in Gibsonton, FL covering base, wall, and island cabinets. Free estimates, matched finishes.
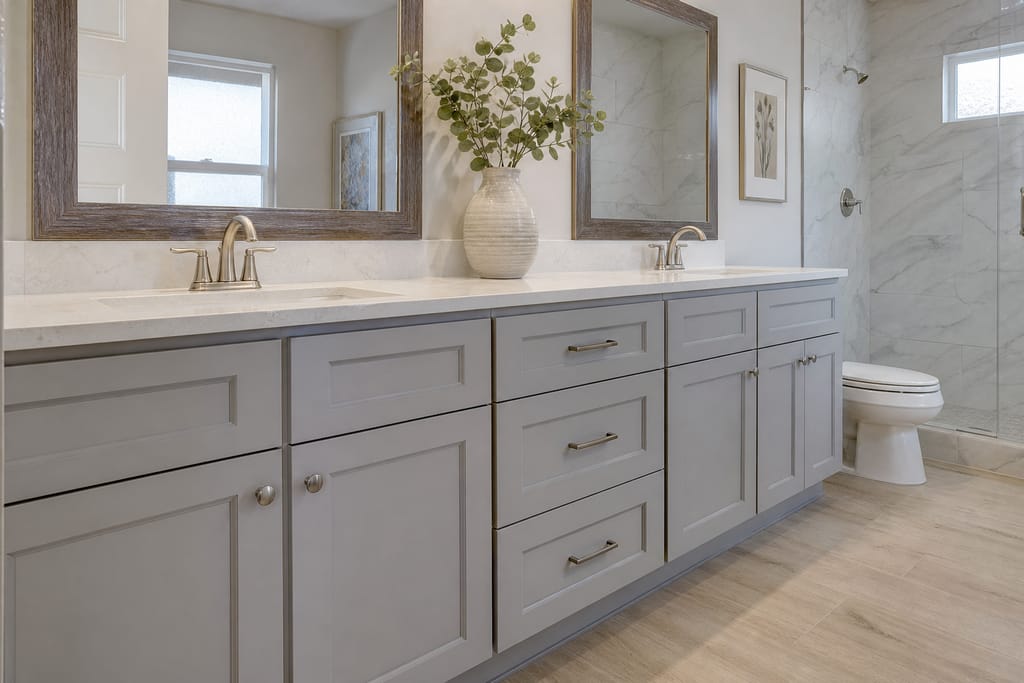
Bathroom Vanity Refacing
Bathroom vanity refacing in Gibsonton, FL with moisture-resistant finishes, new doors, and sealed edges. Free estimates.
Ask about Crown Molding Addition
Tell us about the project and how to reach you.